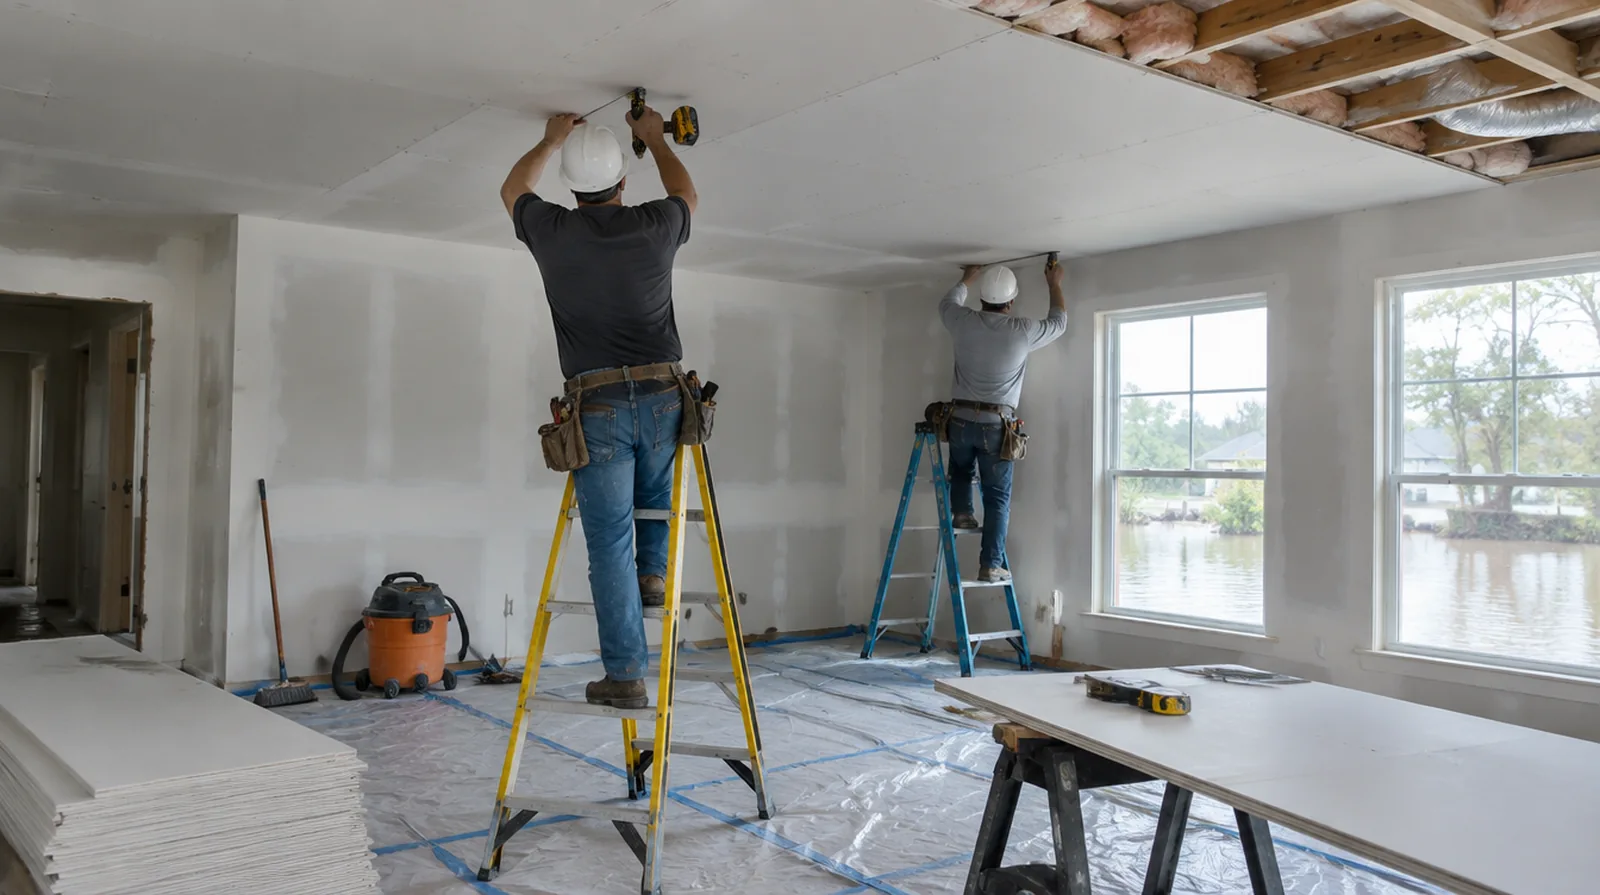
Discuss texture expectations
A smooth ceiling and a textured ceiling need distinct finishing plans around the repaired section. An agreed sample can show the likely limits of a local texture blend before the full repair proceeds. For an initial assessment from pictures, provide an overall room photograph and a detailed view of the defect so both context and scale are apparent.
Check the source of damage
A ceiling stain or soft area may be caused by plumbing or another moisture source above the room. Resolve the source of moisture before relying on a decorative ceiling repair to remain sound. Where the wall surface meets fixed furniture, clarify whether removal is included or whether the finish will terminate at the accessible edge.
Separate fixtures from board work
Handling lights, sprinkler fittings and air grilles may require suitable trades and building coordination. Assign removal and reinstatement responsibilities for any fitting that blocks safe repair access. Where a neat final edge matters, agree whether the finish ends against existing trim or whether that trim will be removed and replaced.
Set the repainting scope
Fresh paint over a local patch may contrast with a ceiling that has aged over time. Painting to a natural boundary may be preferable to touching up only the repair. For an initial assessment from pictures, provide an overall room photograph and a detailed view of the defect so both context and scale are apparent.
Treat the joints overhead
Reinforce the ceiling patch joints and taper the finishing layers well beyond their edges. Because windows often light ceilings obliquely, a narrow raised blend can remain conspicuous. When painting is outside the proposal, describe the remaining decorative preparation clearly so another contractor can price that stage accurately.
Add reliable backing
A ceiling patch needs fastening support on its edges instead of relying on compound to carry its weight. Matching the panel thickness helps avoid a noticeable step between old and new surfaces. Before comparing two proposals, check that both include the same protection, finishing and cleanup boundaries rather than comparing totals alone.
Address isolated stains
Inactive discoloration may require a primer selected to block the remaining stain. Primer selection depends on the remaining discoloration and should never be used to conceal active moisture. For a room with restricted airflow, plan drying conditions alongside dust protection and the comfort of people occupying neighboring spaces.
Plan overhead access
Ceiling height and furniture layout influence the platform and protection needed for safe working access. Delicate floors, bulky furniture and fittings may add more setup work than the patch dimensions suggest. For an older repair with no clear history, describe when the mark first appeared and whether it has changed through more than one season.
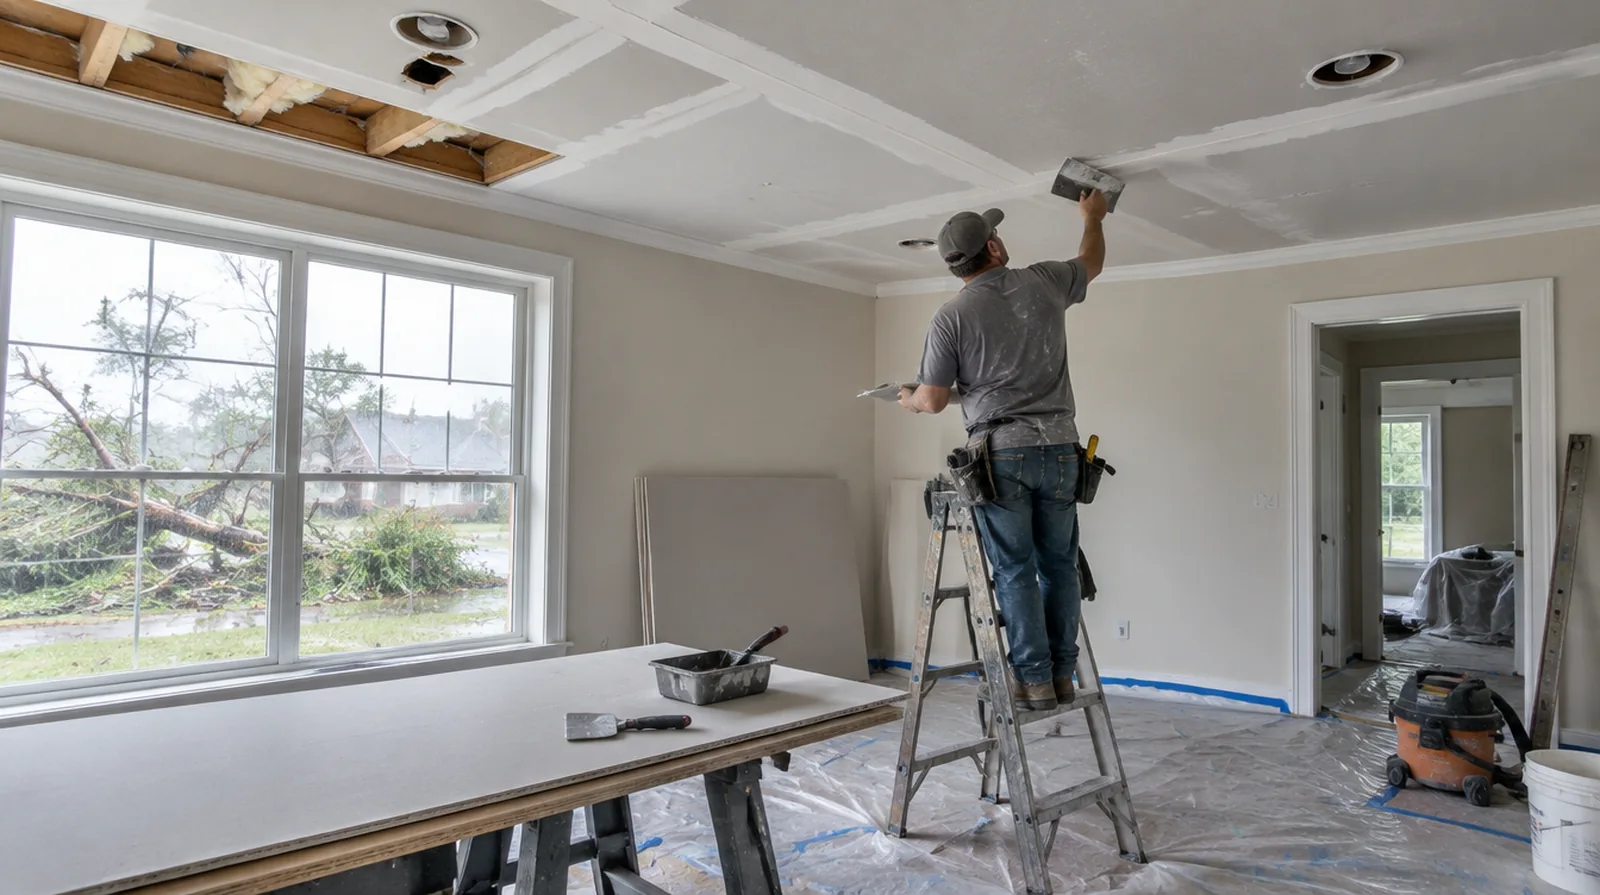
Identify the existing surface
Check whether the overhead finish is gypsum board, plaster or a mixture of older layers. The right repair depends on that actual construction instead of the color of its painted face. For a surface carrying numerous paint layers, discuss whether differences in the retained profile or sheen justify decorating a broader area.
Review the room after drying
Once the coats are dry, view the ceiling from normal room positions and near its principal windows. Record any remaining paint preparation before the protection comes down and the interior returns to use. If the current finish is unusual, keep a small reference sample or a close photograph to support the discussion about blending and restoration.
Project context in Beaumont
Match the new texture to the old so the repaired hallway does not stand out. Gulf humidity keeps rooms damp, so running air conditioning during drying helps.
Scope questions before finishing
When the decorative coating has been selected, tell the finisher its intended sheen and color while the preparation of the surface standard is still being agreed.
If the project is part of a larger remodel, settle the sequence with flooring, trim and cabinet work before setting a final finishing date.
Where existing floors will remain, specify protective measures and review the path used by panels, equipment and finishing tools.
If the problem developed after another renovation, explain which nearby materials or building systems changed before the damage became visible.
For a planned new wall mounted fixture, resolve its backing requirements while the cavity remains open instead of cutting into completed drywall later.
For a room that stays in use, set a workable boundary around construction while retaining the access people need for normal daily activities.
When a wall has repeated defects, keep a record of earlier repair attempts so a new assessment does not simply repeat an unsuccessful approach.
If the surface condition is uncertain, allow for an assessment that can distinguish stable material from layers that ought not to be covered.
When a quote includes multiple visits, ask what happens during each stage and when the room needs to remain undisturbed between coats.
If the proposal requires return visits, identify the purpose of each stage and the intervals during which finishing material needs to remain undisturbed.
If the finish paint is already chosen, share its sheen and color early because those choices influence how preparation of the surface is judged.
If the ceiling or wall includes fittings, identify the person responsible for removing and reinstalling each item before the work begins.
Explore the Beaumont drywall overview for related options, or read the project planning information before arranging the next stage.
More planning details for Beaumont
After storms in Beaumont, interior walls often need repair once a roof leak has been fixed. The key is to remove only the board that was actually wet and to let framing dry before closing the wall. A moisture reading can show how far water traveled behind the paint.