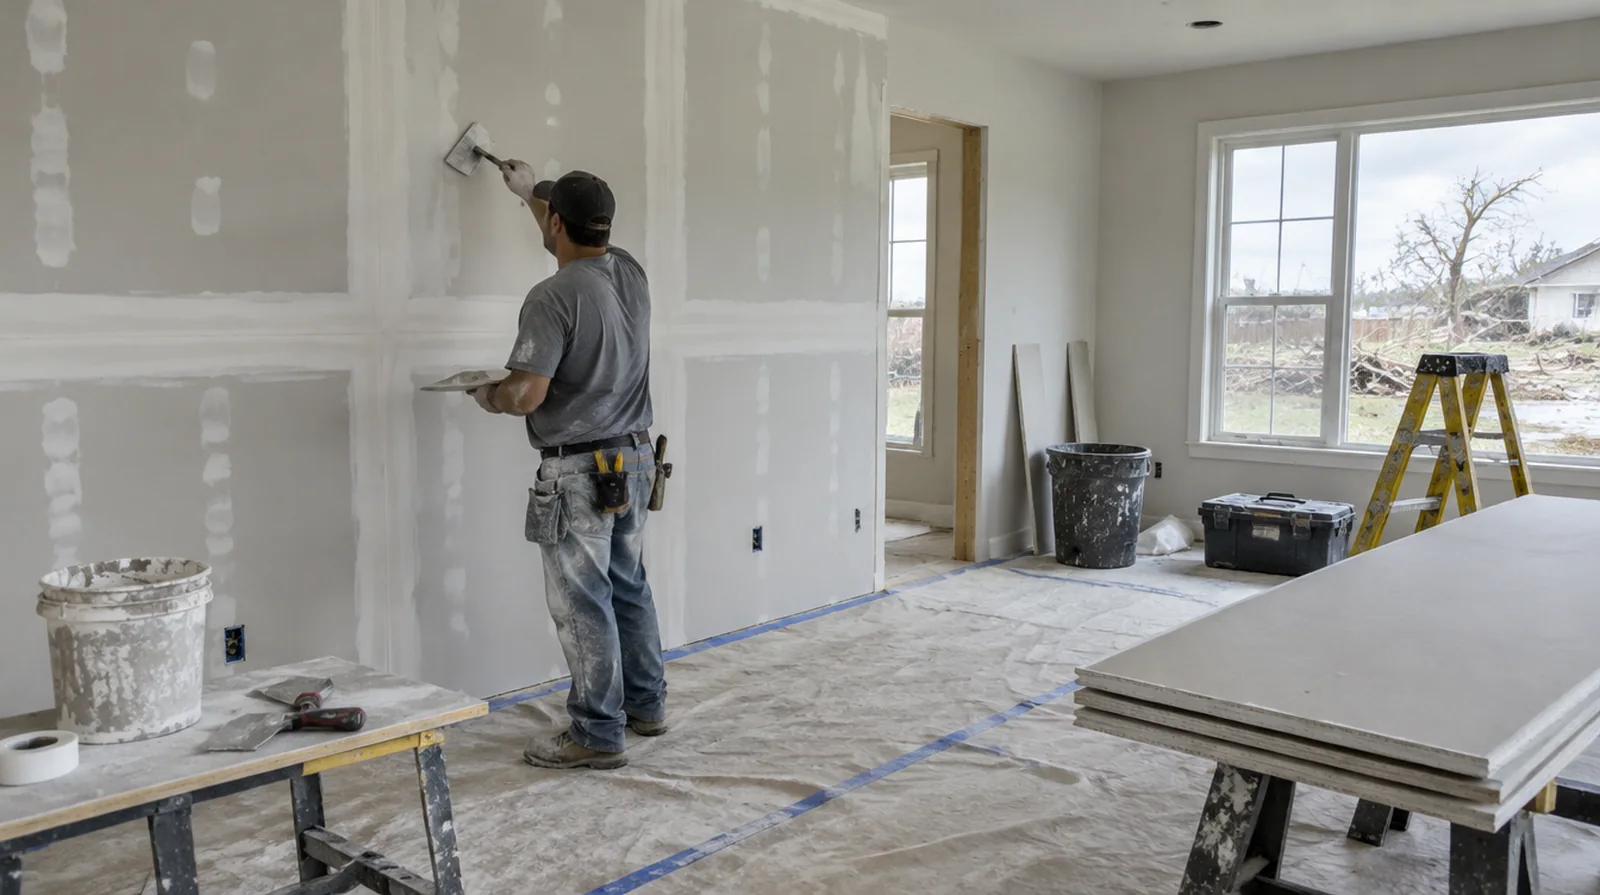
Feather beyond the opening
The visible finishing area typically extends farther than the hole because a gradual taper hides the repair edge. A broad blend reduces the ridge that otherwise appears when light travels across the wall. For a repair that crosses several surfaces, measure the affected planes separately so the estimate can explain where each finishing treatment starts and stops.
Support the replacement
A substantial hole is normally rebuilt with board and proper support, not filled entirely with finishing material. The replacement thickness of the board should match the existing face so the joint can finish level. When reviewing the finished work, use the agreed lighting and natural room viewpoints so the assessment reflects the intended use of the space.
Handle small fastener marks
A bump over a fastener may reflect separation or movement at the panel support. Adding appropriate fastening nearby may be necessary before the damaged spot receives finishing compound. For a repair that crosses several surfaces, measure the affected planes separately so the estimate can explain where each finishing treatment starts and stops.
Set the paint boundary
An old paint coating may not accept an inconspicuous local touch up even after a flat repair. Repainting the full wall from corner to corner may give a more consistent appearance. If the space will remain occupied, identify a practical separation between the project space and the space that still needs daily access.
Prepare for primer
The absorbency of fresh drywall finishing material differs from that of the painted surface beside it. Establish whether the quote includes priming or ends with a sanded surface ready for the painter. When panel replacement exposes a cavity, resolve any required inspection before that opening is closed and the finishing work begins.
Build thin finishing coats
Shaping a repair through thinner coats gives more control than depositing all the material at once. Each layer needs enough drying interval before the next pass can be judged accurately. For a surface carrying numerous paint layers, discuss whether differences in the retained profile or sheen justify decorating a broader area.
Choose the patch boundary
The repair must reach gypsum and paper that remain intact, rather than stopping at the visible outline of the hole. Squaring an opening may create a practical edge for backing and a securely fitted replacement. At the handover inspection, review the finish from ordinary room positions using the lighting conditions that were agreed for the work.
Reinforce panel seams
Joint tape bridges the transition between the original wall and a replacement section. Embed the chosen tape fully in its intended compound so the edges bond without bubbles. For walls beside bright windows, review a dry sample from an oblique angle as well as looking straight at the repaired surface.
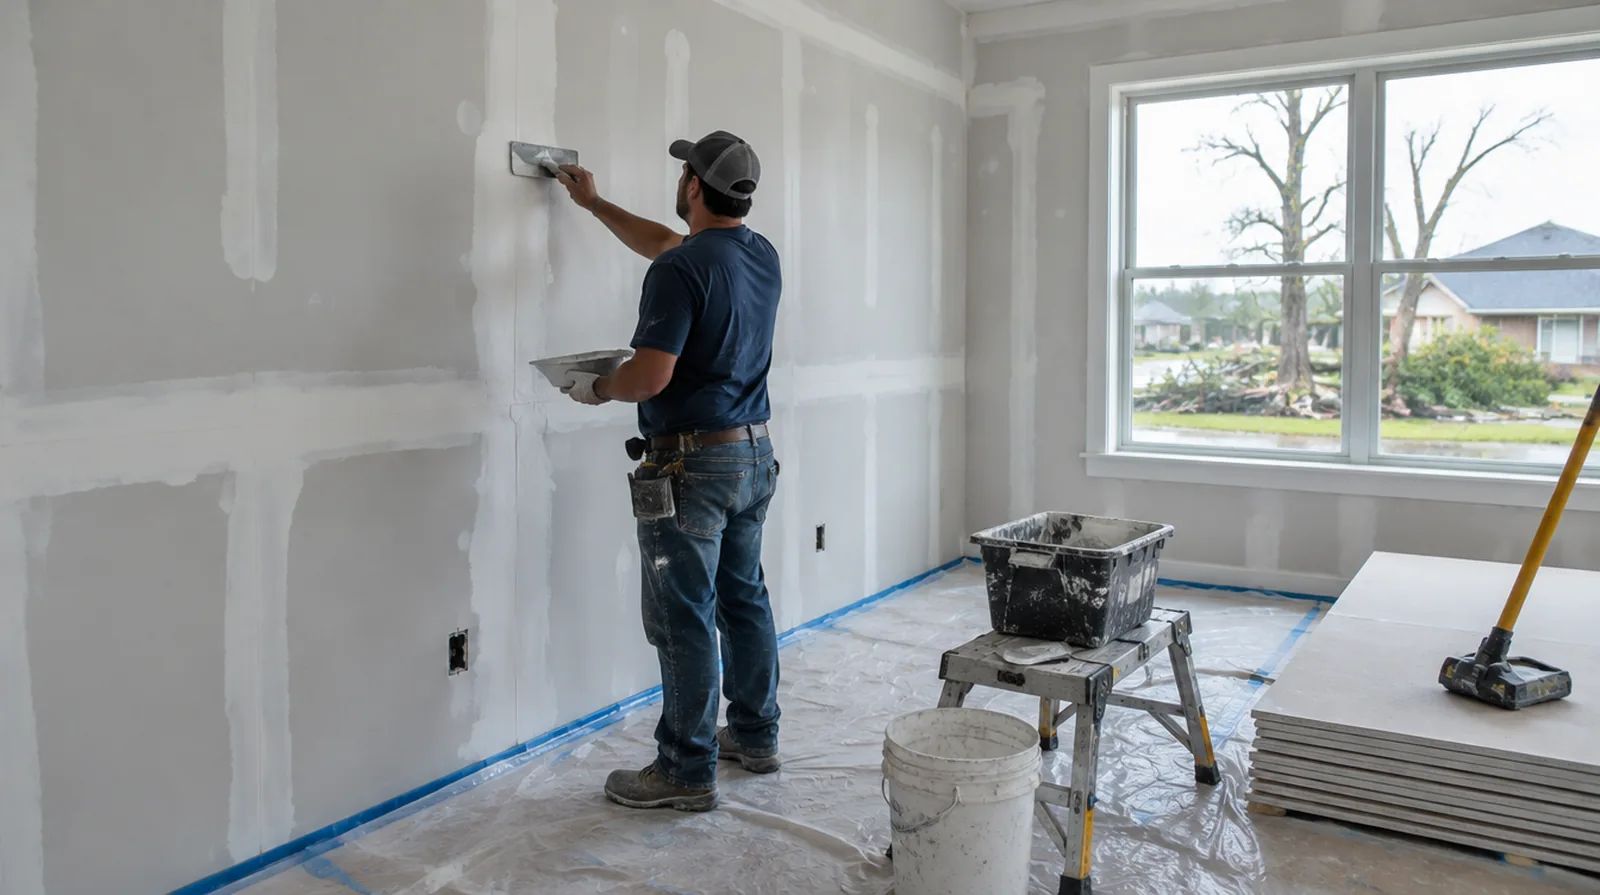
Protect adjacent surfaces
Fine gypsum dust can travel beyond the immediate patch unless floors and nearby furnishings are protected. The work plan should identify what needs moving and which room can remain in use. Where a finished perimeter is prominent, decide whether trim stays in position or is removed before agreeing how the new surface meets that edge.
Identify the cause
Damage from an impact is not assessed in the same way as a seam that keeps splitting at a door opening. Check whether the wall surface feels firm and whether the defect has changed since it first appeared. For a wall receiving a decorative covering, provide its preparation requirements early adequate for the drywall finish to support that product.
Project context in Beaumont
Insurance claims may require photos before and after removal, so take them first. Gulf humidity keeps rooms damp, so running air conditioning during drying helps.
Scope questions before finishing
If the problem developed after another renovation, explain which nearby materials or building systems changed before the damage became noticeable.
Where existing floors will remain, specify protective measures and review the path used by panels, equipment and finishing tools.
When building management controls access, agree delivery hours and common area protection before committing to a start or finish date.
If the wall work belongs to a broader renovation, coordinate its order with flooring, cabinetry and trim rather than scheduling finishing in isolation.
Where flooring is staying in place, agree on protective coverings and check that tools and material handling will not damage the visible finish.
If the ceiling or wall includes fittings, identify the person responsible for removing and reinstalling each item before the work begins.
For a small repair with extensive setup, compare the total scope rather than assuming the price should follow the hole dimensions alone.
For a project involving a building manager, confirm access hours and protection requirements before promising a start date or a short completion window.
When a quote includes multiple visits, ask what happens during each stage and when the interior needs to remain undisturbed between coats.
If the proposal requires return visits, identify the purpose of each stage and the intervals during which finishing material needs to remain undisturbed.
For a distinctive existing pattern, retain a reference sample or detailed picture to make the matching discussion more specific.
At the handover inspection, review the finish from ordinary room positions using the lighting conditions that were agreed for the work.
Explore the Beaumont drywall overview for related options, or read the project planning information before arranging the next stage.
More planning details for Beaumont
After storms in Beaumont, interior walls often need repair once a roof leak has been fixed. The key is to remove only the board that was actually wet and to let framing dry before closing the wall. A moisture reading can show how far water traveled behind the paint.