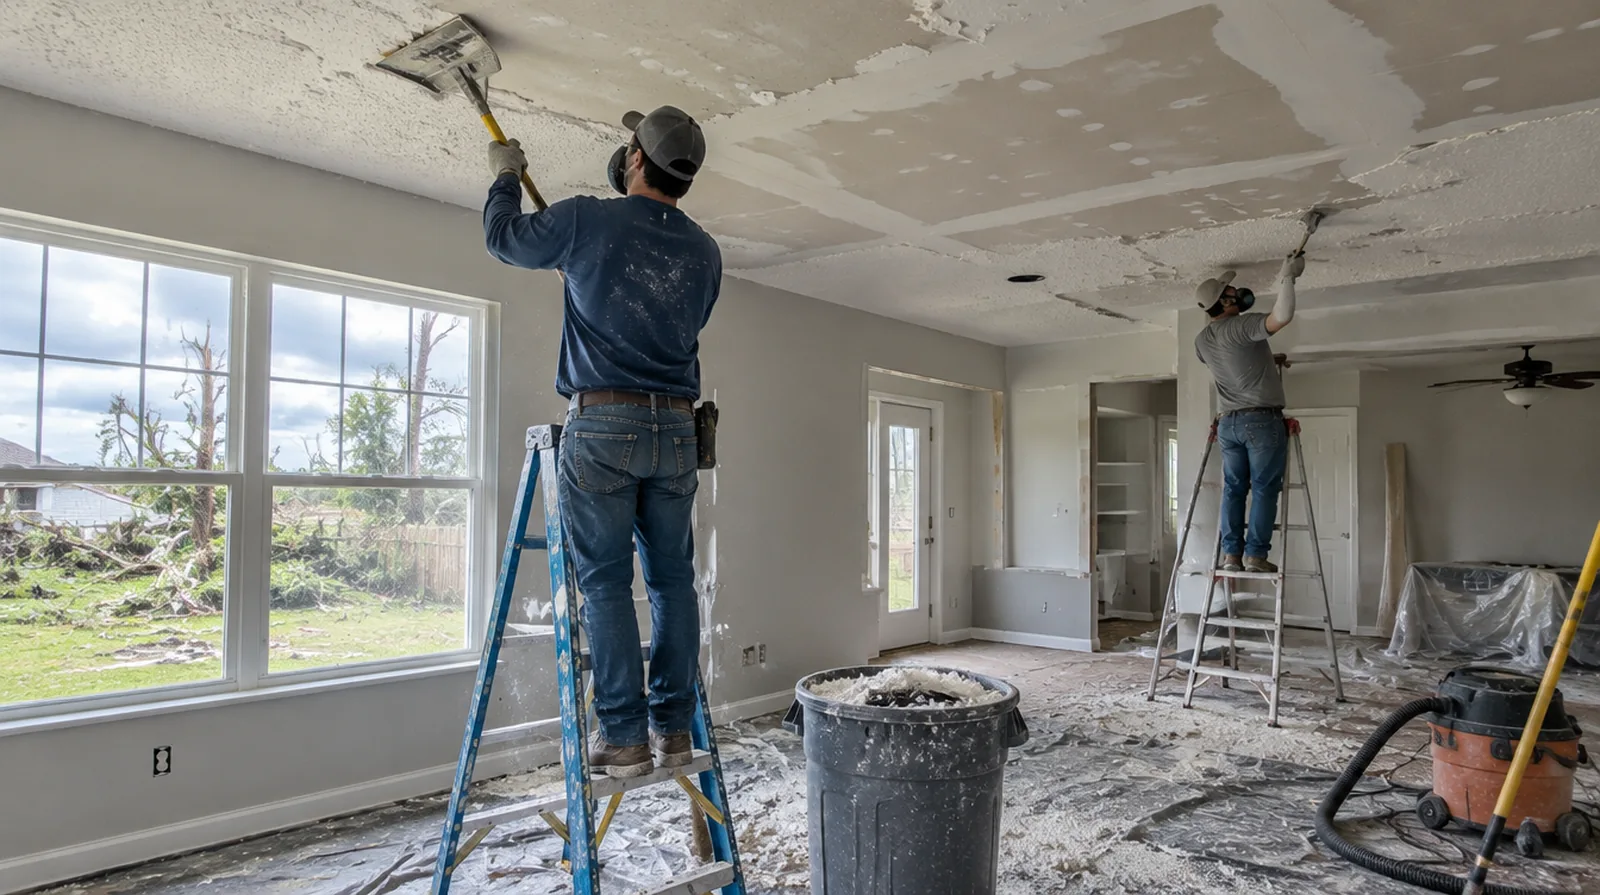
Avoid unnecessary saturation
Avoid a process that introduces so much water that it damages the supporting gypsum. The assessment needs to consider how the existing finish responds and what the substrate can tolerate. If the ceiling or wall includes fittings, identify the person responsible for removing and reinstalling each item before the work begins.
Plan fixture coordination
Light fittings, alarms and other ceiling devices could need separate handling by the suitable trade. The scope should identify who disconnects and reinstalls them rather than leaving that responsibility unclear. For a surface carrying numerous paint layers, discuss whether differences in the retained profile or sheen justify decorating a broader area.
Confirm primer and paint
The newly exposed and repaired ceiling needs an appropriate coating plan after it dries. Clarify whether the drywall quote stops at a ready for painting finish or includes decorative coatings. For a small repair with extensive setup, compare the total scope rather than assuming the price should follow the hole dimensions alone.
Check for painted coatings
Previously painted popcorn texture may resist simple wetting and require a differing removal approach. A small controlled assessment helps explain labor and potential damage to the underlying surface. If a household member is sensitive to dust, discuss containment and cleaning expectations before choosing how to stage the room work.
Review ceiling condition
The texture may conceal uneven joints, old patches or an unfinished board surface. Allow for assessment and further finishing after safe removal exposes the original face. Where occupants have dust sensitivity concerns, agree containment and cleaning measures before settling the way the room will be staged.
Protect the entire room
Ceiling removal creates overhead debris that can reach walls, floors and fixtures. Arrange masking, furniture relocation and a suitable removal route rather than covering only a small patch below. For an initial assessment from pictures, provide an overall room photograph and a detailed view of the defect so both context and scale are apparent.
Repair exposed imperfections
Removal can uncover damaged paper or shallow defects that must be stabilized before finishing. Talk through an allowance for those repairs before the decorative coating has been taken down. Where a neat final edge matters, agree whether the finish ends against existing trim or whether that trim will be removed and replaced.
Account for side lighting
Windows and ceiling fixtures can expose shallow ridges once the heavy texture is gone. A wider skim or more extensive finishing may be appropriate for an original surface not built to remain smooth. If the current finish is unusual, keep a small reference sample or a close photograph to support the discussion about blending and restoration.
Plan cleanup and reopening
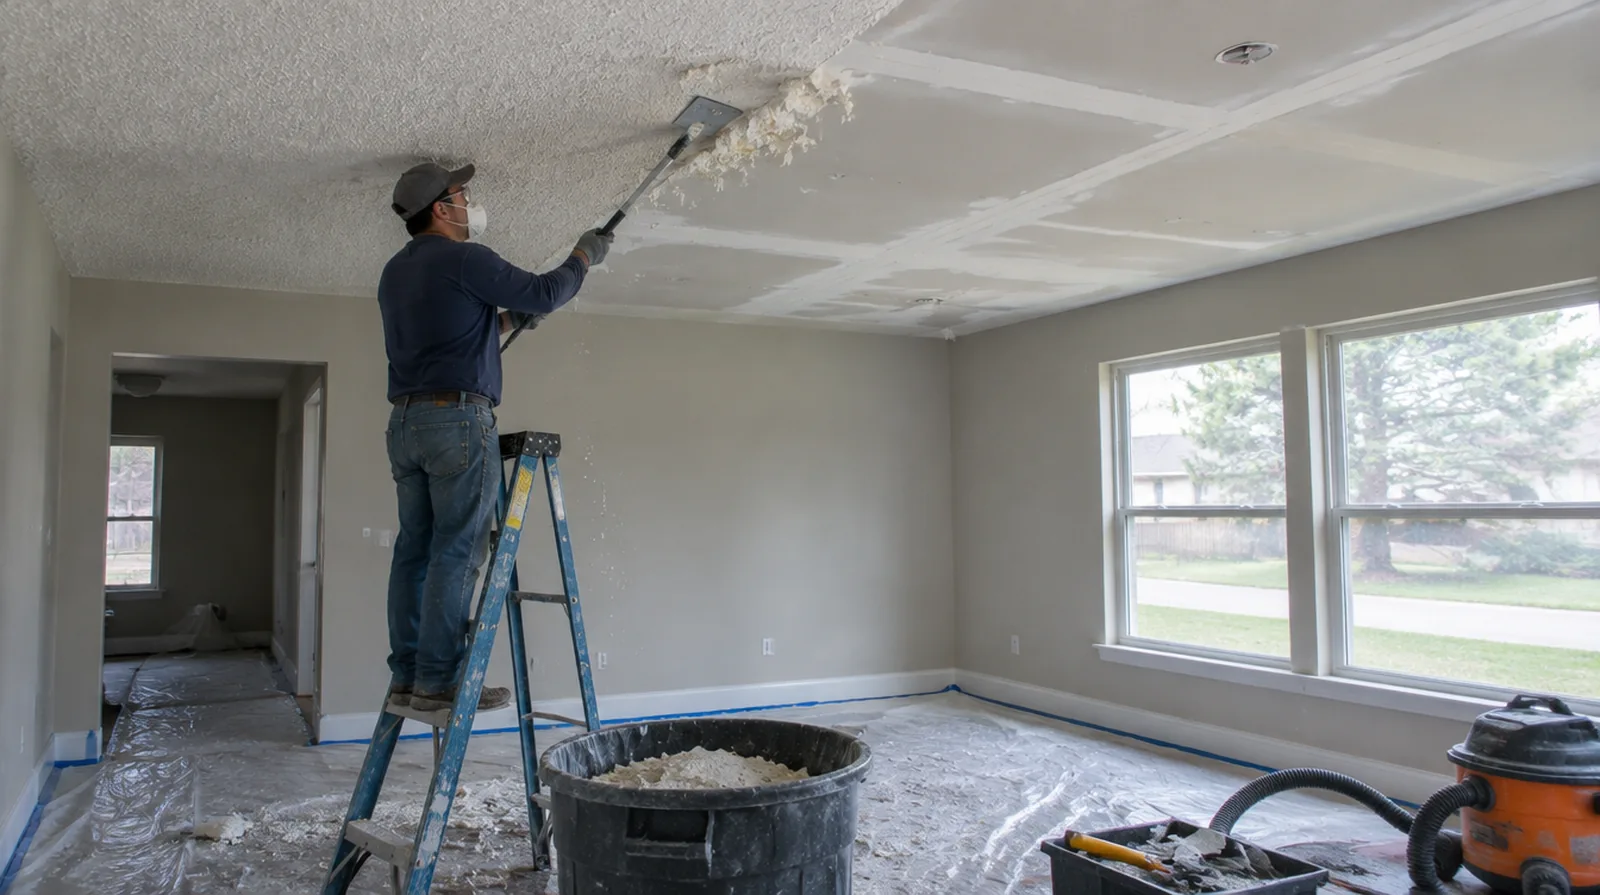
The room should be reviewed after debris removal and the agreed stages of finishing are complete. Review the agreed surface condition and cleanup before returning the space to normal use. Where the wall surface meets fixed furniture, clarify whether removal is included or whether the finish will terminate at the accessible edge.
Separate specialist work
Confirmed hazardous material removal is not an ordinary drywall scraping task. A suitable specialist should define containment, handling and disposal before any finish restoration is planned. Where a neat final edge matters, agree whether the finish ends against existing trim or whether that trim will be removed and replaced.
Project context in Beaumont
After storms in Beaumont, interior walls often need repair once a roof leak has been fixed. A moisture reading can show how far water traveled behind the paint.
Scope questions before finishing
If the problem developed after another renovation, explain which nearby materials or building systems changed before the damage became noticeable.
For walls beside bright windows, review a dry sample from an oblique angle as well as looking straight at the repaired surface.
For work spread across distinct planes, record their dimensions separately and describe the boundary of the treatment on each surface.
For an initial assessment from pictures, provide an overall room photograph and a detailed view of the defect so both context and scale are apparent.
While a removed panel exposes the wall cavity, complete the necessary review of concealed work before replacement board closes the opening.
When the history of a repair is uncertain, note when it became noticeable and whether its appearance has altered across differing seasons.
Where a finished perimeter is prominent, decide whether trim stays in position or is removed before agreeing how the new surface meets that edge.
If the coating stability is unclear, assess which layers are adequately bonded and which should be removed rather than simply hidden beneath new material.
At the handover inspection, review the finish from ordinary room positions using the lighting conditions that were agreed for the work.
When more damage could be hidden, ask how any added scope will be documented before extra material is removed or replaced.
Where occupants have dust sensitivity concerns, agree containment and cleaning measures before settling the way the interior will be staged.
For a distinctive existing pattern, retain a reference sample or detailed picture to make the matching discussion more specific.
Explore the Beaumont drywall overview for related options, or read the project planning information before arranging the next stage.
More planning details for Beaumont
The key is to remove only the board that was actually wet and to let framing dry before closing the wall. Gulf humidity keeps rooms damp, so running air conditioning during drying helps. Single-story ranch homes often have attached garages that make good staging areas for board.