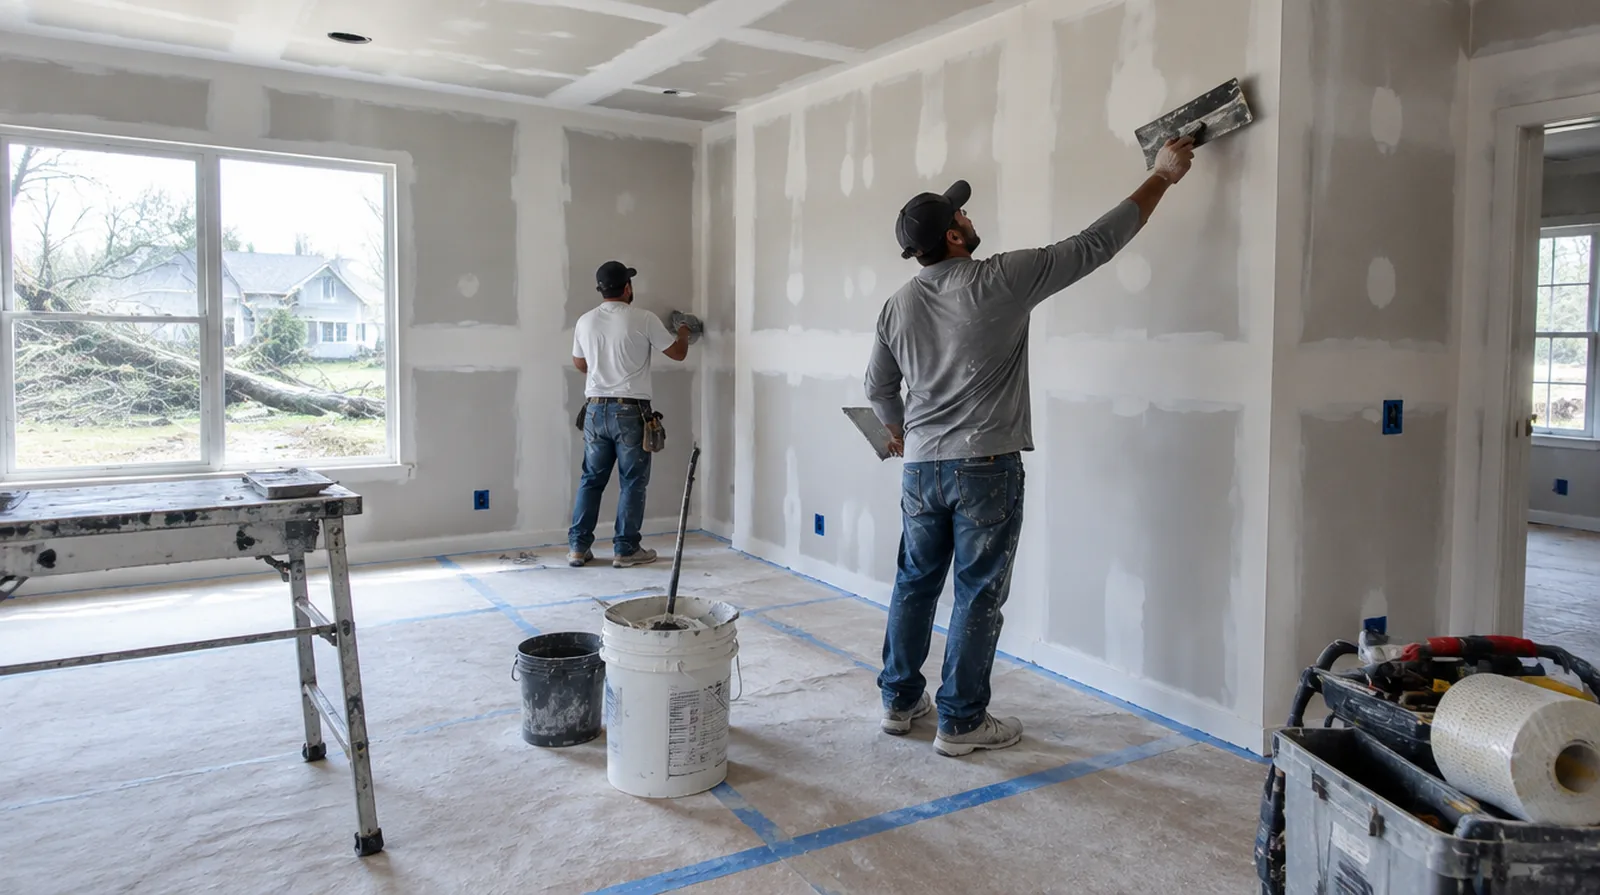
Inspect the whole wall
Review corners, returns and service openings as well as the straight seams in the main wall. Use the intended room lighting where practical and include an oblique view across the plane. When comparing competing estimates, make sure their protection, surface finish and disposal allowances describe equivalent work before comparing the final prices.
Cover fastener heads
Fill fastener depressions level with the surrounding face without creating unneeded mounds. Adjust any projecting or paper breaking screw before applying material over the location. If the surface condition is uncertain, allow for an assessment that can distinguish stable material from layers that ought not to be covered.
Allow genuine drying time
A firm outer skin does not always mean the material beneath it is ready for sanding. Temperature, air movement and room humidity affect the interval between finishing steps. For a tightly furnished room, plan temporary storage and the minimum working clearance before material is carried into the property.
Coordinate with the painter
Primer could reveal small imperfections that were difficult to see on the raw white surface. Decide beforehand who handles minor touch ups and whether a post primer review is included. If there is a fixed move in date, reserve enough time for the coating stages after drywall work rather than counting only the installation period.
Build the seam gradually
Successive coats widen the finished area and soften the transition from joint to board face. Square cut sheet ends need particular care because they do not offer the recess of tapered factory edges. At an edge beside built in furniture, state whether the obstruction will be removed or whether finishing stops at the section that can be reached.
Choose joint materials
Bedding coats and final coats serve distinct purposes and may use different compatible compounds. Choose compatible compounds with regard to their intended purpose, the room and the relevant product instructions. Where the quoted work stops before painting, request a well defined description of what remains so the next decorating stage can be priced realistically.
Keep external corners straight
A corner profile only produces a straight visible line when it is fitted and coated correctly. Dents or twists ought to be corrected before the finish locks them into the wall. For an initial assessment from pictures, provide an overall room photograph and a detailed view of the defect so both context and scale are apparent.
Agree on the visual standard
Agree how the completed wall will be viewed and decorated before choosing the finishing standard. A written finish level gives the installer and painter a clearer shared target. When comparing competing estimates, make sure their protection, surface finish and disposal allowances describe equivalent work before comparing the final prices.
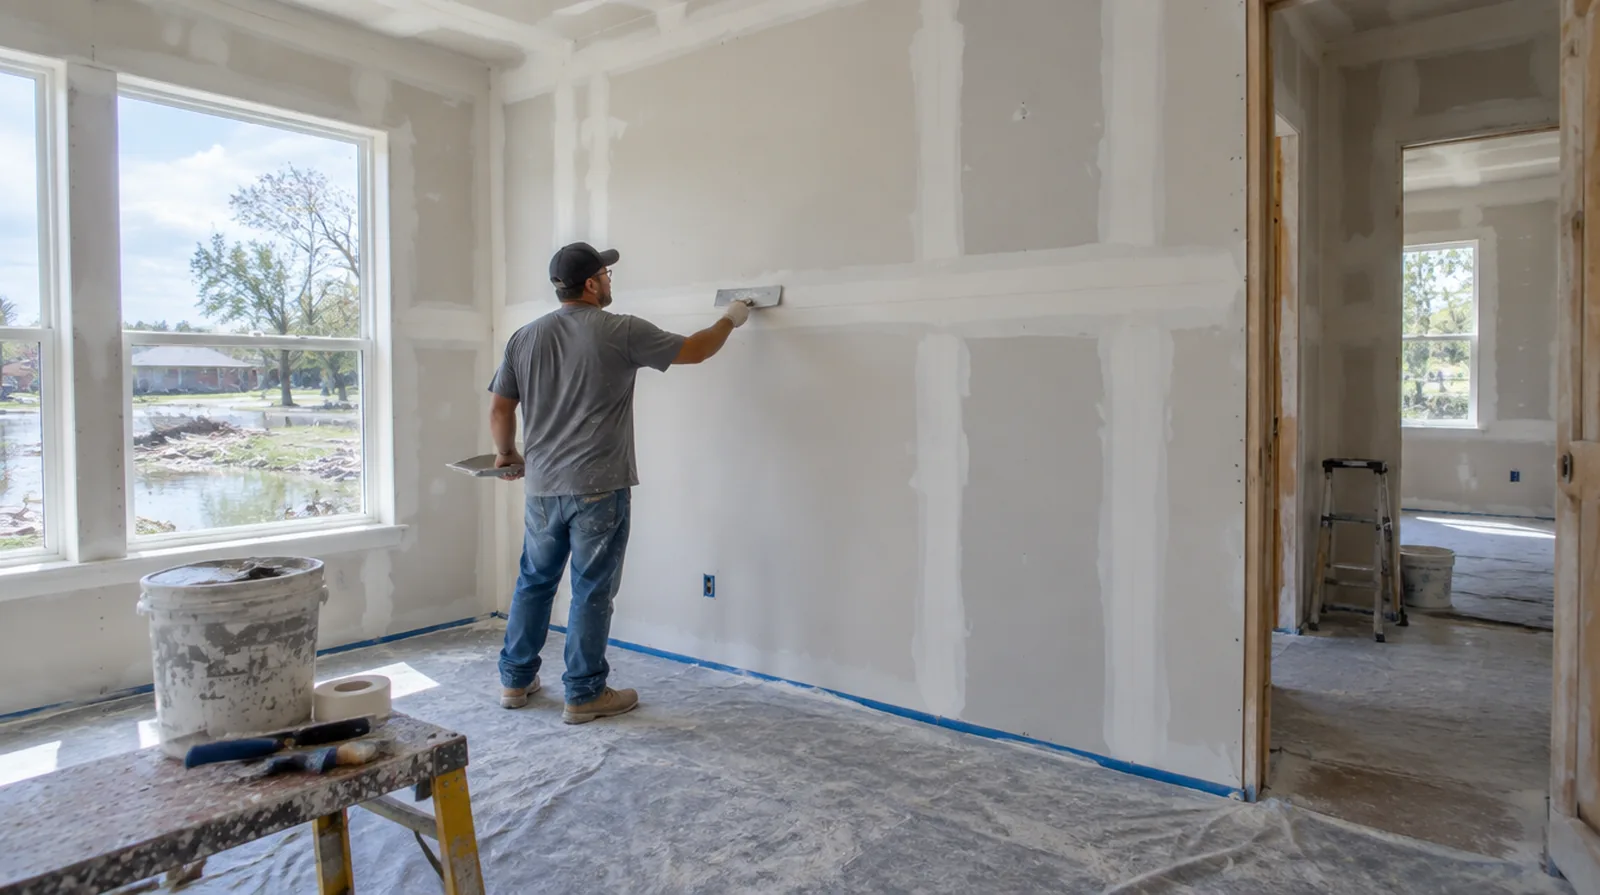
Use controlled sanding
Use sanding to refine minor imperfections instead of reshape an unnecessarily heavy joint. Dust extraction and protection matter even for a room with only a few seams. If the surface condition is uncertain, allow for an assessment that can distinguish stable material from layers that should never be covered.
Consider a skim layer
Broad grazing light could reveal a difference in texture between the paper face and finished joints. A suitable skim treatment could help create a more uniform surface when the specification calls for it. For a room that stays in use, set a workable boundary around construction while retaining the access people need for normal daily activities.
Project context in Beaumont
The key is to remove only the board that was actually wet and to let framing dry before closing the wall. Match the new texture to the old so the repaired hallway does not stand out.
Scope questions before finishing
When the wall surface has strong reflected light, look at the full plane rather than judging only the narrow strip immediately beside the patch.
For a room that stays in use, set a workable boundary around construction while retaining the access people need for normal daily activities.
For a room with restricted airflow, plan drying conditions alongside dust protection and the comfort of people occupying neighboring spaces.
Where a finished perimeter is prominent, decide whether trim stays in position or is removed before agreeing how the new surface meets that edge.
For a small repair with extensive setup, compare the total scope instead of assuming the price should follow the hole dimensions alone.
If materials must cross common building areas, plan the protection and access route so other occupants are not needlessly obstructed by deliveries.
For a tightly furnished room, plan temporary storage and the minimum working clearance before material is carried into the property.
If a distinct painter completes decoration, agree the condition of the handed over surface and assign responsibility for small final corrections.
If the space will remain occupied, identify a practical separation between the protected room and the space that still needs daily access.
If occupancy must resume on a certain day, include the later primer and paint stages in the timetable as well as drywall installation and finishing.
Where the quoted work stops before painting, request an explicit description of what remains so the next decorating stage can be priced realistically.
Where light reflects along the wall surface, inspect the complete plane instead of limiting the review to the edge immediately next to the repaired section.
Explore the Beaumont drywall overview for related options, or read the project planning information before arranging the next stage.
More planning details for Beaumont
After storms in Beaumont, interior walls often need repair once a roof leak has been fixed. A moisture reading can show how far water traveled behind the paint. Gulf humidity keeps rooms damp, so running air conditioning during drying helps.